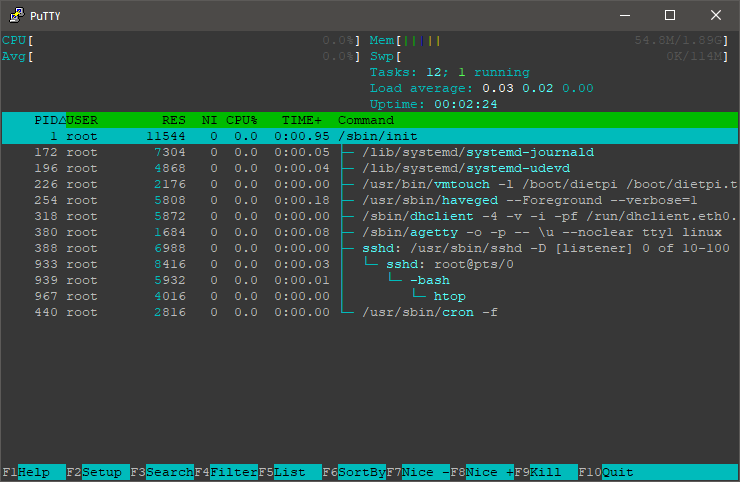
The following post will quickly explain how to install DietPi OS, for those who doesn’t know: “DietPi is an extremely lightweight Debian OS, highly optimised for minimal CPU and RAM resource usage, ensuring your SBC always runs at its maximum potential“. DietPi OS is oriented to SBC (Single Board Computer) like Raspberry Pi devices but actually it can be installed on any device, even Servers and VPS instances.
The major feature of DietPi, beside its optimized performance, is the list of pre-optimized tools and utilities along with an active community and support. Today I’ll be installing DietPi OS in a VPS instance based on KVM, just like this one. The only pre-requisites is to have Debian OS installed and the installation of a couple of packages, fortunately, DietPi developers made an easy-to-follow installation script, you can now install DietPi OS in a couple of minutes.
Important notes from the DietPi official website:
- For best results, we recommend a fresh/clean minimal Debian/Raspbian installation.
- Native PC users: Please install Debian stable before hand: https://www.debian.org/distrib/netinst
- Desktop images should work, however, the minimal the image, the quicker the installation, as less packages will need to be removed.
- Remark: We do not support Ubuntu, or have any plans to do so.
- Do not run the script within any desktop environment, because the desktop is uninstalled during the script execution, that will “pull the ground from under your feet”.
Step 1: Updating Debian OS
Let’s update Debian, you can do that by executing:
apt update && apt upgrade -y && apt dist-upgrade -y && apt autoremove -y
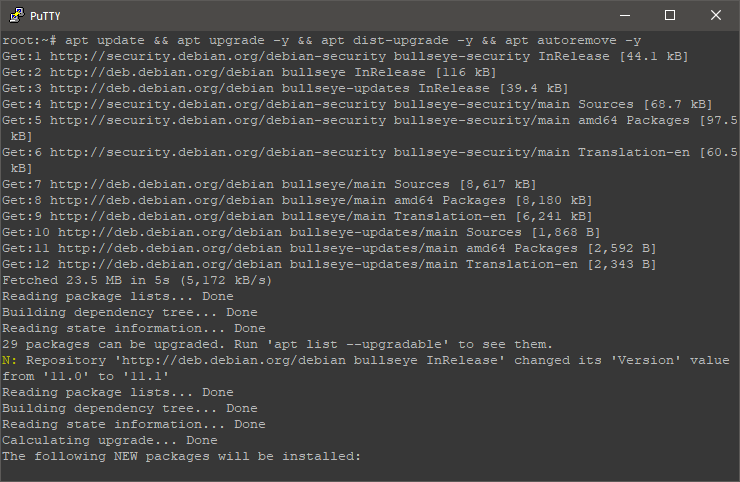
Note: I’ve logged in as root, if you don’t have access to the root account, you must use “sudo” before every command, i.e: sudo apt update && sudo apt upgrade -y &&…
Reboot the instance after the update process is completed. Do that by executing:
reboot
Step 2: Installing DietPi OS
You must install the following packages by executing:
apt install -y curl ca-certificates systemd-sysv
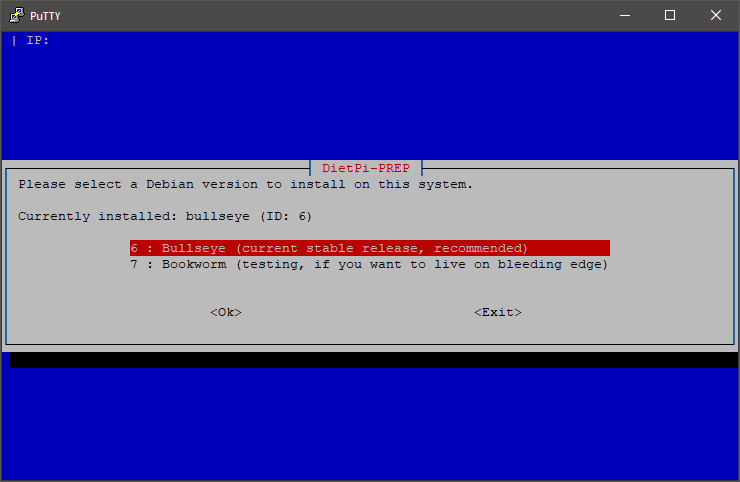
After the installation is completed, proceed to install DietPi by executing:
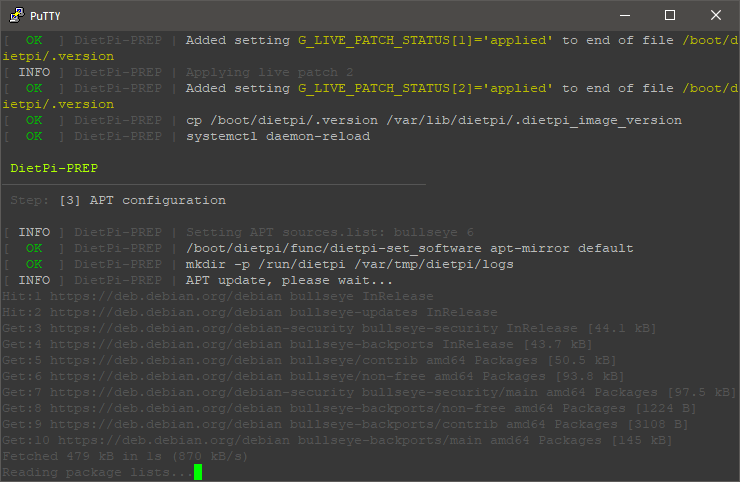
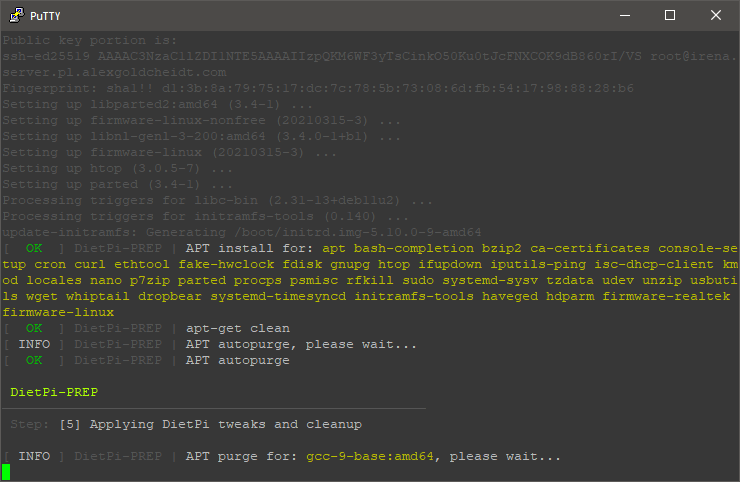
bash -c "$(curl -sSfL 'https://raw.githubusercontent.com/MichaIng/DietPi/master/PREP_SYSTEM_FOR_DIETPI.sh')"
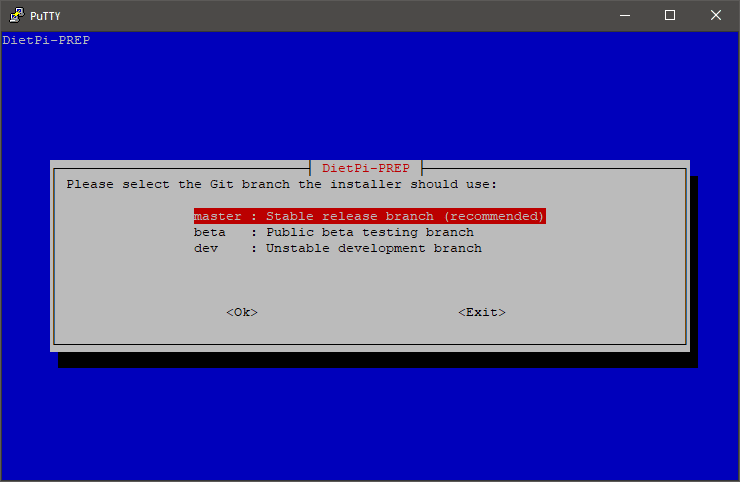
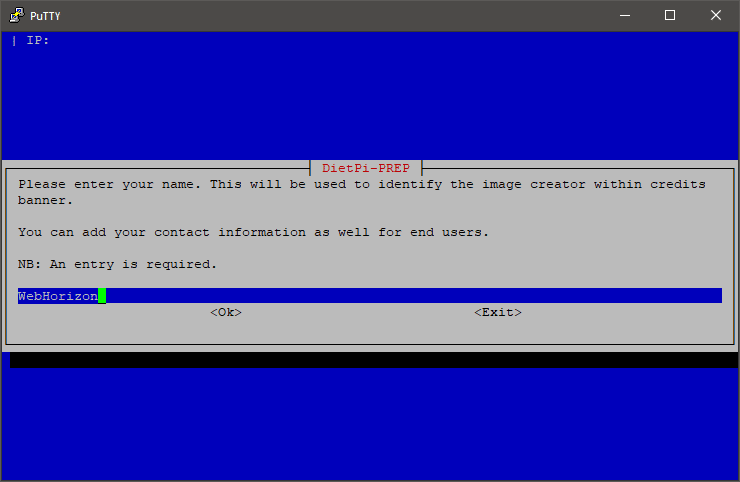
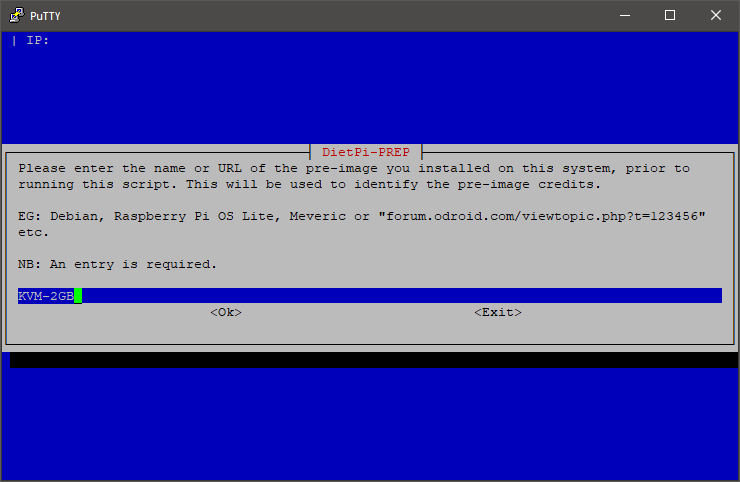
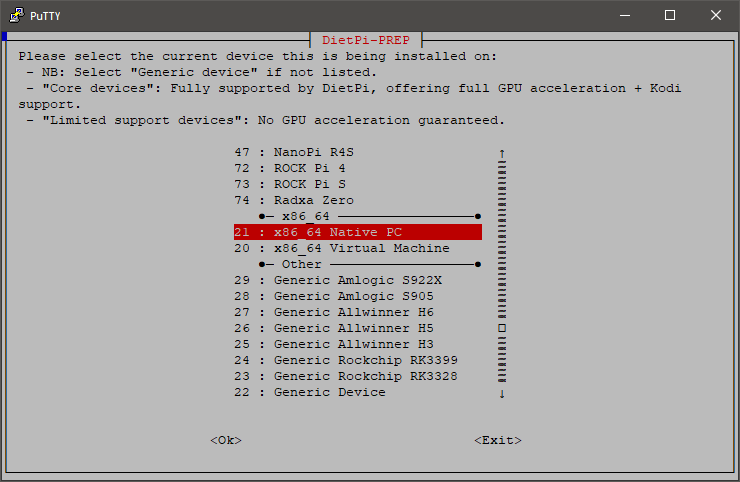
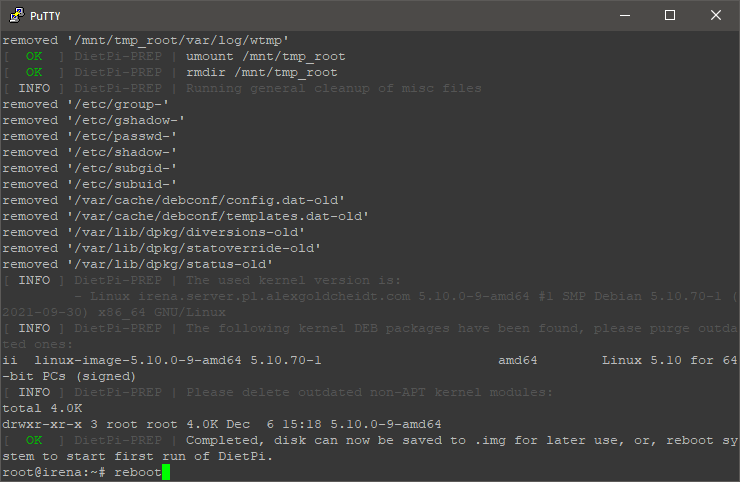
Follow its instructions. After the installation is completed, reboot your instance.
Step 3: DietPi OS First Login
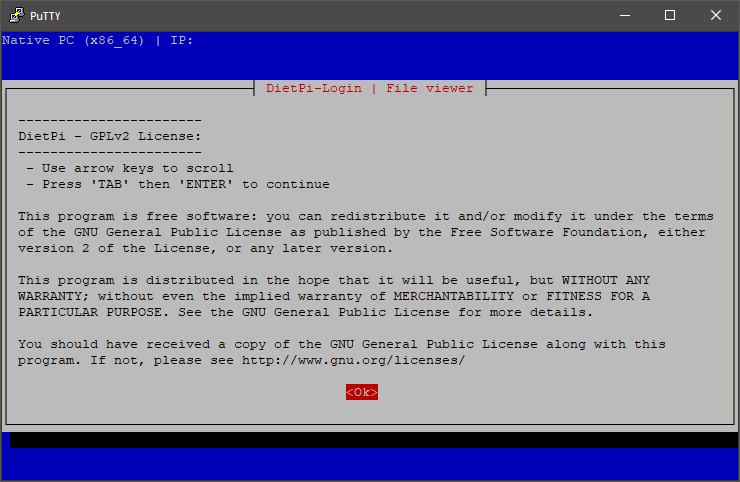
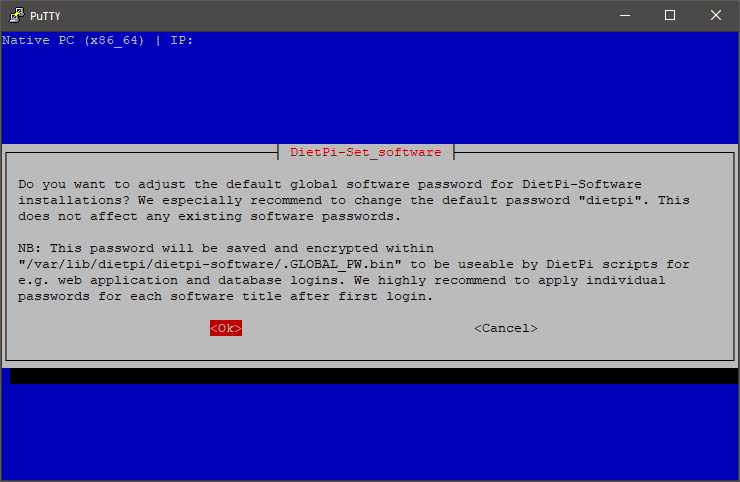
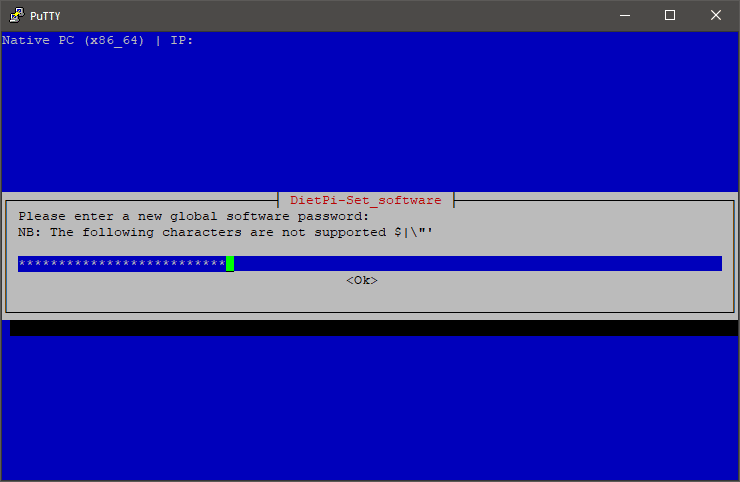
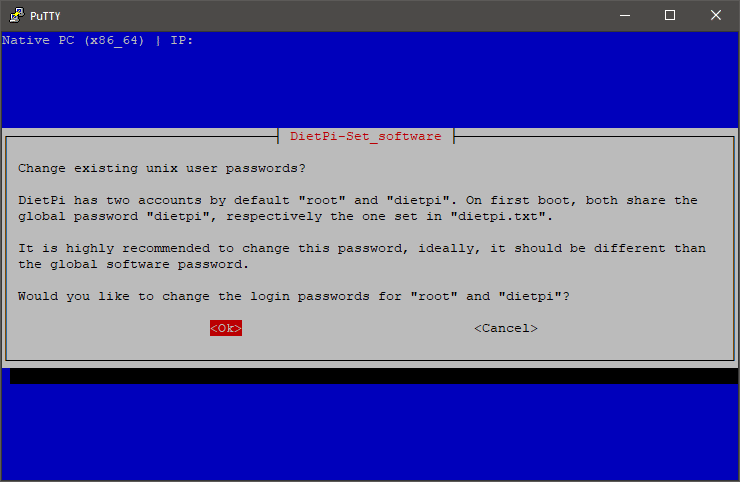
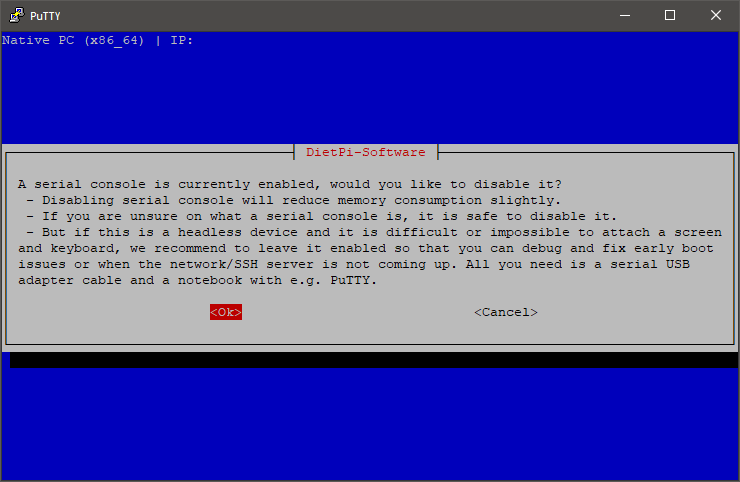
DietPi OS will replace the root password and create a new user called: “dietpi”, both user accounts have a single default password: “dietpi“. On the first login you will be asked to change them, also, it will be asking to disable serial console, which you can safely do it.
Step 4: DietPi OS Softwares
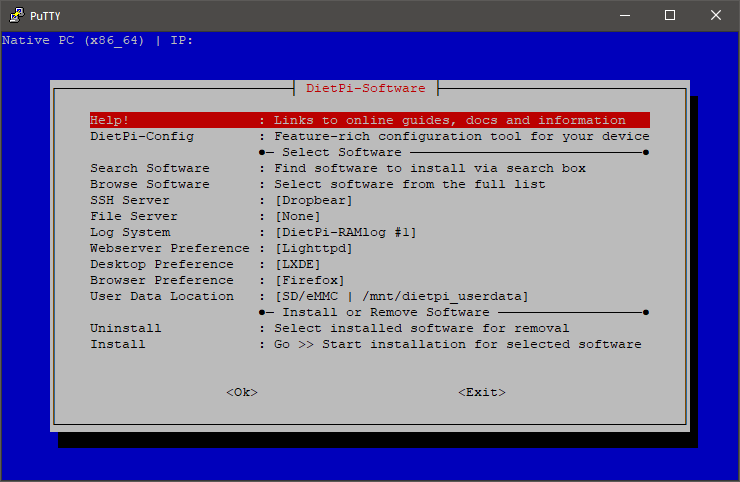
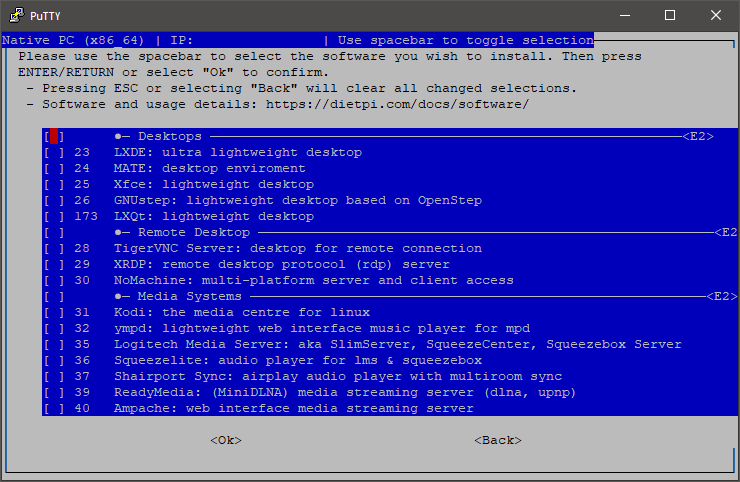
After all this is completed, the first screen you will see is a graphical main menu. Through it, you can install/uninstall several tools and utilities. Personally, the first action I made is to change the SSH Server from Dropbear to OpenSSH because, with it, I can access to it via SFTP softwares like Filezilla but you can use Dropbear as well.
Now you can install tools and utilities related with: BitTorrent, Cloud and Backups, DNS Servers, VPN, Gaming & Emulation, Media Systems and much more. You can see the full list of softwares by selecting: “Browse Software” on DietPi OS main menu. More information and documentation of all these tools are available here.
Step 5: DietPi Support
Fortunately, DietPi developers are very active, they have forum if you want to discuss general ideas, projects and suggestions but if you run into issues, I recommend to report them through their GitHub website and check their documentation website.
Results:
Conclusion:
Until now, DietPi is the only Debian-based that includes pre-optimized softwares under an optimized OS with an active community and support, at least that I know. I hope this post helped you to optimize your VPS instances and to create new projects through its softwares. Don’t forget to check WebHorizon amazing deals here.

