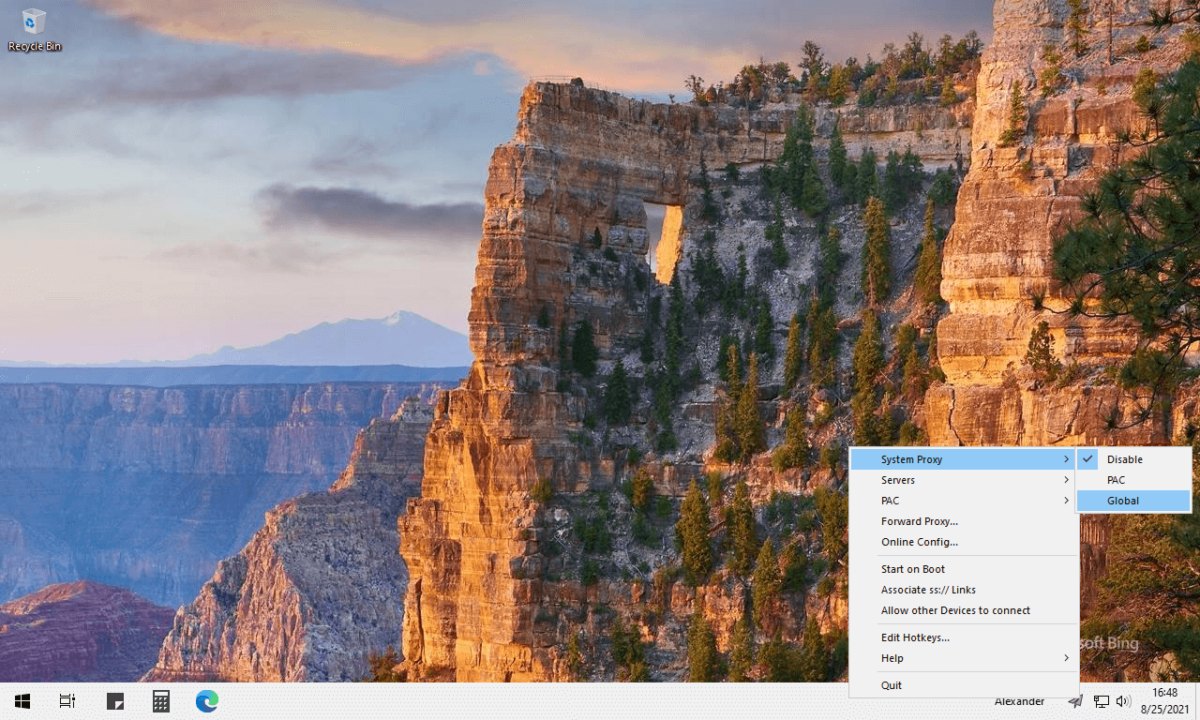
The following post will quickly explain how to create your own Shadowsocks Proxy Server under Debian 11 Bullseye and use it on Windows 10 as a system proxy. I’ll be using a KVM server located in Poland .
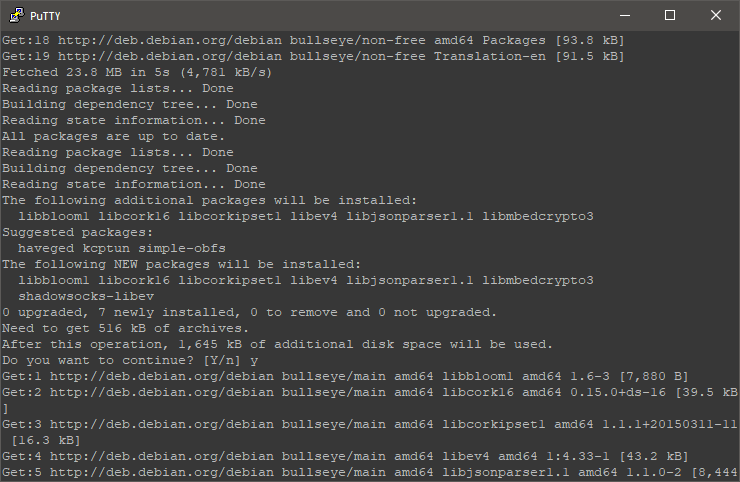
STEP 1: Update APT Repository and Install shadowsocks-libev
Let’s start by executing the following command line:
sudo apt update; sudo apt install shadowsocks-libev -y
STEP 2: Proxy Server Configuration
Assuming that you use nano to edit files, modify the configuration file by executing this command line:
sudo nano /etc/shadowsocks-libev/config.json
We need to change the IP server from:
127.0.0.1 to 0.0.0.0
This change is required to make the server listen on the public IP address. NAT users need to change the port according to the instance assigned ports. Also, you can change the password, I will use the default port and a random password.
Go to the end of the: “method” line, add a comma, press enter to add a new line and add:
"fast_open":true
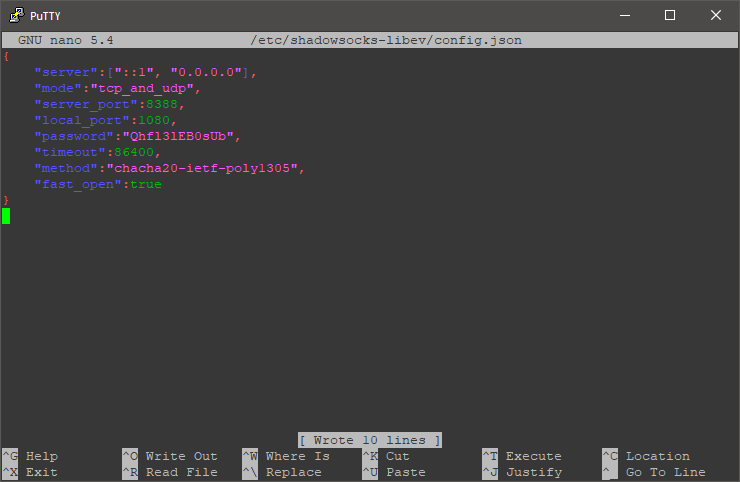
Once you’ve modified the file, save changes (press Ctrl+S in nano) and exit (press Ctrl+X in nano).
STEP 3: Getting Ready
Enable TCP Fast Open by executing the following command line:
echo "net.ipv4.tcp_fastopen = 3" >> /etc/sysctl.conf && sysctl -p
Restart Shadowsocks by executing:
sudo systemctl restart shadowsocks-libev.service
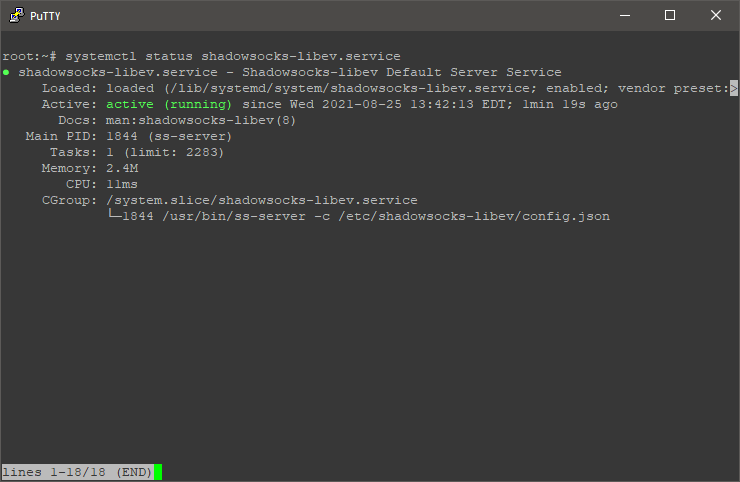
Verify that everything is running correctly:
sudo systemctl status shadowsocks-libev.service
STEP 4: Shadowsocks on Windows 10
You can connect to your Shadowsocks proxy server through PuTTY, a well-known application which have a SSH Tunneling feature but today I’ll use a dedicated Shadowsocks proxy client for Windows 10 available from here.
This is a portable application, doesn’t need an installation, just extract the files and double-click: “Shadowsocks.exe”. Connect to your Shadowsocks proxy server by entering Server IP, Server Port, Password and Proxy Port (local-port from STEP 2).
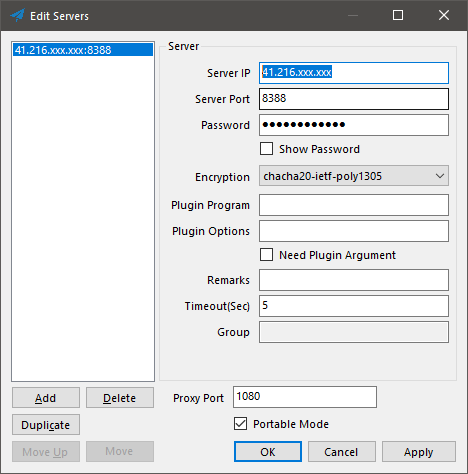
Once this is completed, right-click its system tray icon, go to System Proxy and select “Global”. Now all your Windows applications will connect through your Shadowsocks proxy server, including web browsers.

RESULTS:

CONCLUSION:
That’s it. This is a top alternative to OpenVPN and Wireguard. I hope this post helped you to create your own Shadowsocks proxy server. Check WebHorizon deals for KVM/OVZ/NAT instances.
