The following post will quickly explain how to create your own V2Ray IPv6 proxy server under Ubuntu 20.04 and use it on any Android device as global proxy. Works with both IPv4 & IPv6 connections.
Requirements:
- A fresh Ubuntu 20.04 OS install with IPv6 connectivity.
- Domain or sub-domain added on a Cloudflare account.
- VPS IPv6 address added into Cloudflare account as AAAA record.
Pre – Dependencies:
sudo apt remove --purge apache2 -y && sudo apt install curl -y
STEP 1: Executing a Simple Bash Script
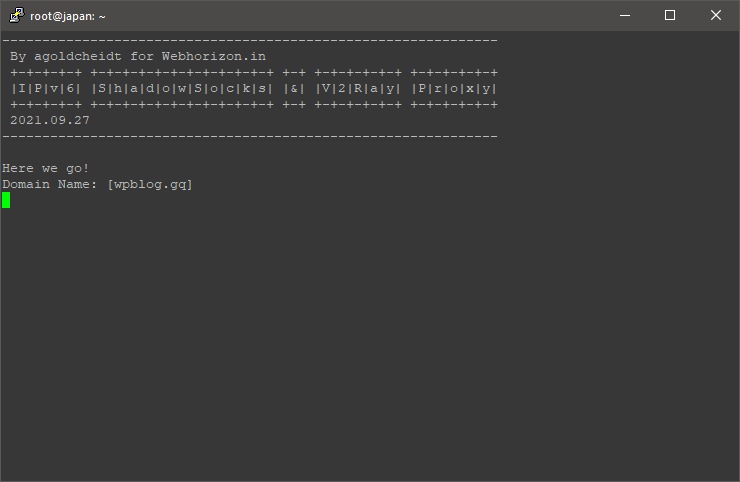
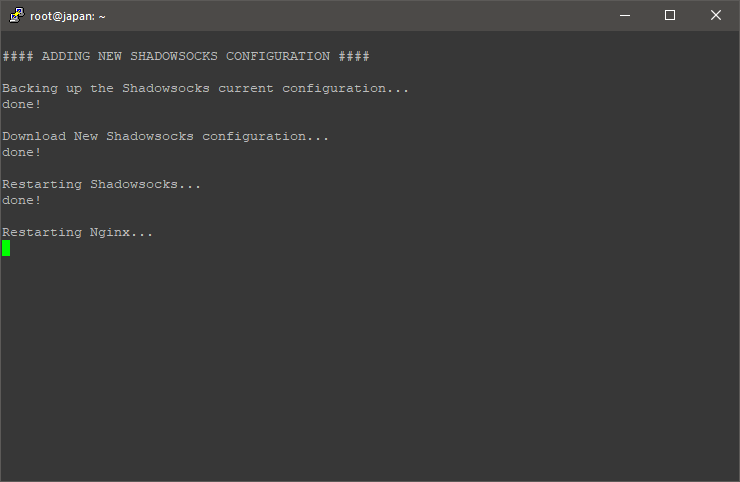
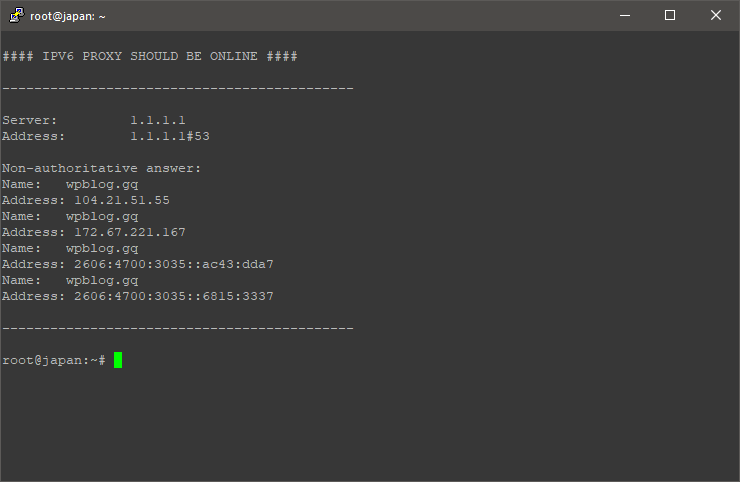
I’ve developed a simple bash script to make the proxy set up more quickly and easier, this bash script is available here. Execute the script on-the-fly with this command:
curl -s https://raw.githubusercontent.com/agoldcheidt/v2ray-ipv6-proxy-tls/main/ipv6-proxy | bash -s yourdomainname
Replace yourdomainname with your current domain name or sub-domain.
- Default Shadowsocks Password: pass1234
- Default V2Ray Location: /fiberweb
STEP 2: Changing Default Configuration
Since this is a very simple script you can change its settings with the sed command.
To change the default password you can execute:
sed -i "s/pass1234/mypassword/g" /etc/shadowsocks-libev/config.json && sudo systemctl restart shadowsocks-libev
Replace mypassword with your custom password.
To change the default V2Ray location you can execute:
sed -i "s/fiberweb/myrandomwords/g" /etc/shadowsocks-libev/config.json && sudo systemctl restart shadowsocks-libev
sed -i "s/fiberweb/myrandomwords/g" /etc/nginx/sites-available/default && sudo systemctl restart nginx
Replace myrandomwords with your custom location.
STEP 3: Connecting Proxy
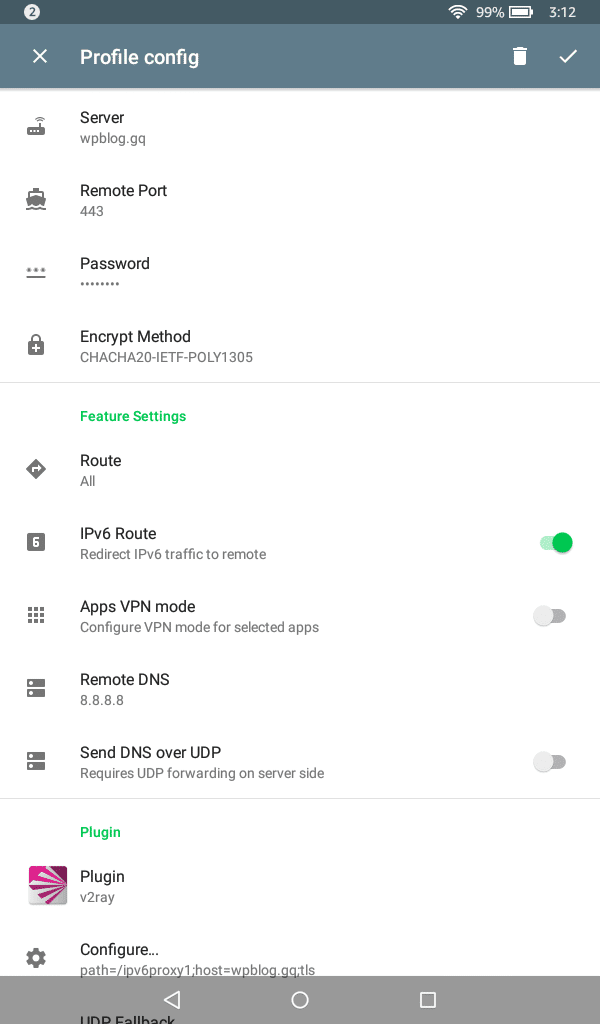
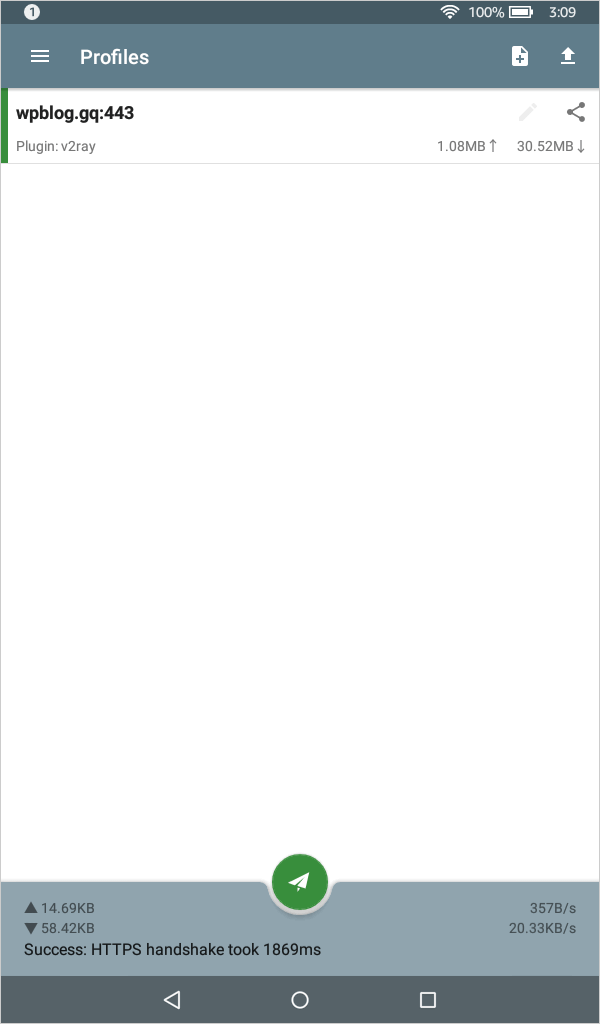
To connect through this IPv6 proxy, you must install Shadowsocks and V2Ray plugin (both by Max Lv.) in your android device. Open the Shadowsocks app. Add a new profile, select manual settings:
Profile Name = v2ray+ipv6
Server = yourdomainname
Remote Port = 443
Password = pass1234
Encrypt Method = chacha20-ietf-poly1305
Route = All
IPv6 Route = On
Apps VPN Mode = Off
Metered Hint = Off
Remote DNS = 1.1.1.1
Send DNS over UDP = Off
Plugin = v2ray
Transport mode = websocket-tls
Hostname = yourdomainname
Path = /fiberweb
Concurrent connections = 1
Certificate for TLS verification = Not set
Logcat level = warning
Generated line = path=/fiberweb;host=yourdomainname;tls
UDP Fallback = Disabled
CREDITS:
All credits goes to this post and all the great community behind it.
CONCLUSION:
Isn’t this good?. This is a very good way to set up an encrypted IPv6 proxy server. I hope this post helped you to create your own V2Ray IPv6 proxy server. Don’t forge to check WebHorizon KVM/OVZ/NAT deals.
